

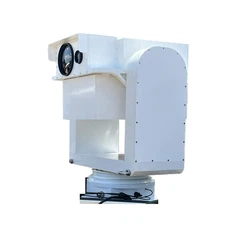
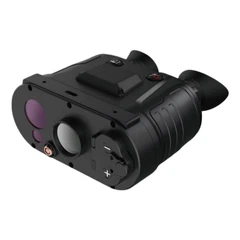
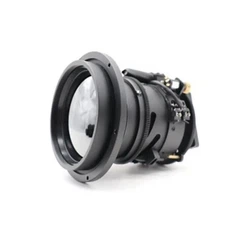
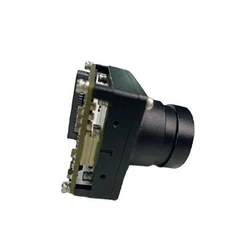
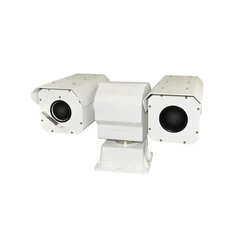
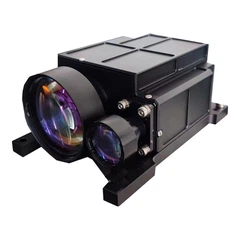
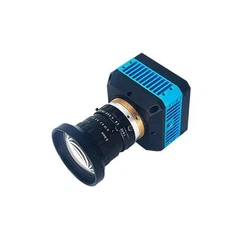

An infrared lens is a device that captures infrared radiation and converts it into a visible light signal. It is widely used in security monitoring, thermal imaging, night vision and other fields. Proper mounting of your infrared lens is key to ensuring it works properly and performs optimally. Below I will introduce the correct installation steps of the infrared lens in detail.
1. Choose a suitable location First, we need to choose a suitable location to install the infrared lens. This location should be in the center of the area that needs to be monitored to ensure the best monitoring effect. In addition, you should avoid pointing the infrared lens directly at the sun or other strong light sources to prevent the lens from being damaged by strong light exposure.
2. Install the bracket. Install the bracket that comes with the infrared lens at the selected location. Usually the bracket will have fixing holes that allow it to be fixed to a wall or other flat surface. Make sure the mount is securely mounted to prevent the lens from shaking.
3. Install the infrared lens. Connect the infrared lens to the bracket. Usually there is a threaded hole at the bottom of the infrared lens, and its threads can be matched with the threads on the bracket, and then rotated and fixed. When fixing the infrared lens, attention should be paid to pointing the lens toward the area to be monitored.
4. Adjust the focus and angle of view After the installation is complete, the focus and angle of view of the infrared lens need to be adjusted to ensure that it can capture the desired area. Most infrared lenses have focus and viewing angle adjustments. It can be adjusted according to the monitoring needs until a clear image is obtained.
5. Connect the infrared lens to the device. Now, connect the infrared lens to the monitoring device. Typically, an infrared lens will have a video output interface that can be connected to a surveillance device (such as a monitor or video recorder) via a video cable. In addition, some infrared lenses also need to be connected to a power source.
6. Turn on the power and test Finally, turn on the power of the infrared lens and test its working condition. You can observe the image displayed on the monitor and make sure the infrared lens is working properly. If you find that the image is blurry, the color is abnormal, or other problems, you may need to readjust the focus and viewing angle, or check whether the connection is correct.
Summary: Installing an infrared lens requires choosing a suitable location, installing the bracket, installing the infrared lens itself, adjusting the focus and viewing angle, connecting the device, turning on the power and testing. Following these steps to properly install your infrared lens will ensure it works properly and provides clear surveillance images.